-
-
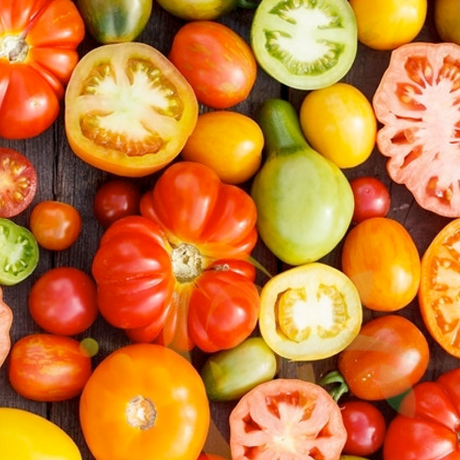
Divide the crops you want to grow into cool-season crops (which do best in the spring and the fall) - and - warm-season crops (which do best in the summer). Common cool-season crops include beets, broccoli, cabbage, carrots, cauliflower, collard greens, kale, lettuce and other salad greens, peas, radishes, spinach and turnips. These crops can survive cold weather (even some frost). Popular warm-season crops include beans, corn, cucumbers, eggplant, okra, peppers, pumpkins, squash, tomatoes, and watermelons. These crops need very warm weather to grow and cannot survive frost at all.
-
Further divide the crops you want to grow into crops that can be grown from seed in the garden and those that are usually planted in a house or greenhouse and moved (or transplanted) into the garden as small plants. Of the crops listed above in step 2, broccoli, cabbage, cauliflower, collard greens, eggplant, kale, peppers, and tomatoes should almost always be transplanted by new gardeners (basically this means to start your seeds indoors!) Cucumbers, pumpkins, and watermelons are sometimes transplanted and sometimes not (and basically this is saying that you can just directly plant the seeds into the garden).
-
-
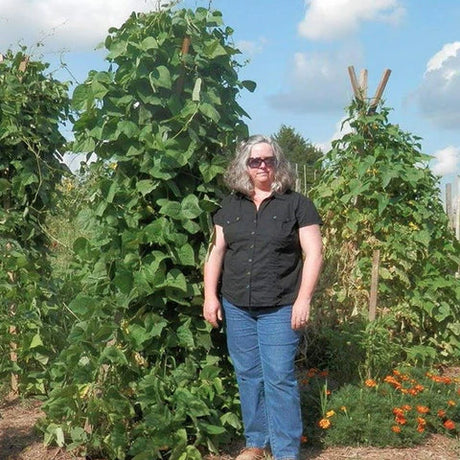
In April, or as early after that as you can, find a garden spot. Use containers, build a raised bed, dig up your front yard, or whatever else you can think of. 6 Tips for Gardening in ContainersIf you have a choice, your garden location should be flat and exposed to full sun all day.
-
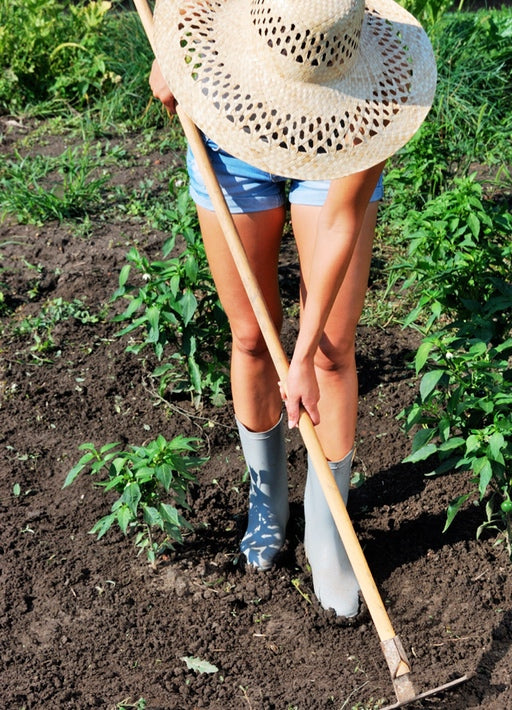
Use whatever tool(s) you have handy to break up the soil throughout your garden. If at all possible, add some fertilizer and soil amendments. Talk to an experienced person at a good garden store for suggestions about what to buy, emphasizing that you want to grow organically. DID YOU KNOW? You can even have your local garden shop test your soil and provide recommendations for special soil amendments.
-
Mark off the areas you plan to grow in with sticks. Leave paths in between that are at least 12 inches wide.
-
Use your tool(s) to prepare smooth beds where the topmost soil is very fine (no large lumps).
-
Start planting seeds of cool-season crops (again, this can happen as early as the beginning of April for many crops). Leave space for the warm season crops, which will not get planted until late May or early June (or plant very quick growing crops that will be finished by early June). Starting your seeds indoors is a great way to get a "jump start" on your garden. By starting your seeds indoors a few weeks before your last frost, you should have plenty of small seedlings ready to be transplanted into your garden beds once planting season begins. Tips for Successfully Starting Your Seeds By far the easiest way to start your seeds indoors is to use Seed Starting Soil Pellets. To use them, place them in a large tray. Fill the tray with enough hot water to cover the pellets. This will start to expand the pellets and get them ready for planting. Once the pellets are fully expanded, if there is any extra water remaining in your tray, gently drain. Seedlings are tender and have been sheltered their whole young lives. Like a toddler, those newborn plants need an extra step in their growing cycle. In order to transition successfully from inside to outside, they need a bit of loving care, also called hardening off. 9 Steps to Harden Off Seedlings
-
Weed your garden regularly (at least once a week), and put down leaves, straw, newspaper, and/or cardboard around your crops to keep weeds from growing. Harvest crops as they mature.
-
When all danger of frost has passed (in late May or early June), it's time to start your warm-season crops and plant them in the garden as quickly as you can.
-
Continue weeding and harvesting through the summer, watering your garden thoroughly (for one hour or more) once a week if it has not rained.
-
As cold weather approaches in October, begin replacing warm-season crops with cool-season crops as the warm-season crops begin to die.
-
|


|